Switch Panel
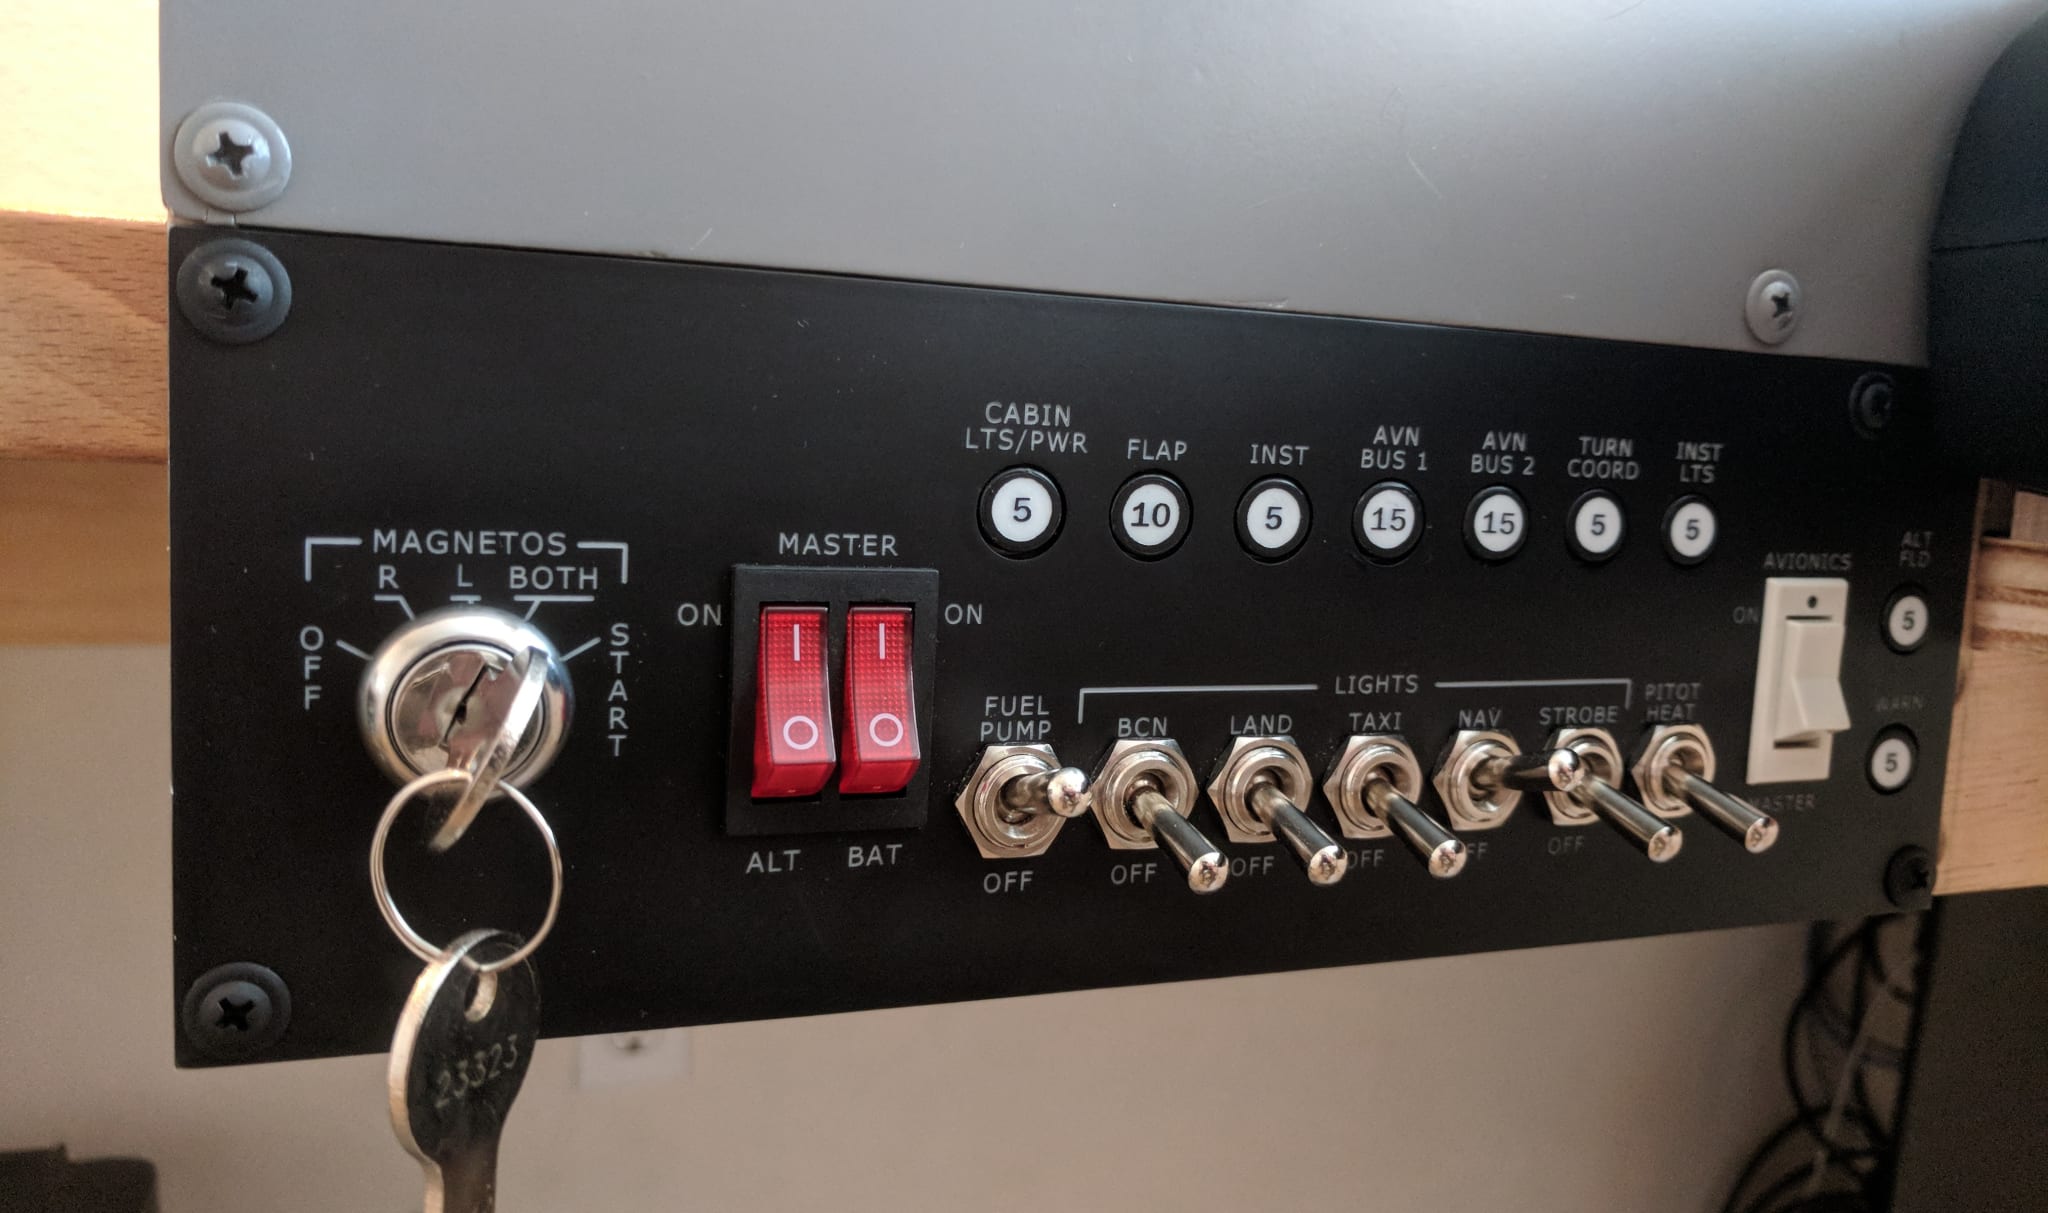
The switch panel simulates a typical setup in a steam gauge Cessna 172. The panel houses a custom-built spring-return key switch, simulated fuses, and toggle switches for the electrical buses, fuel pump, lighting, pitot heat, and avionics.
The panel is attached directly to the frame with truss-head screws.

Parts List
| Component | Quantity | Source |
|---|---|---|
| Panel | 260x89mm | (Ebay) 3/16” bright white cast acrylic |
| Screws (for attaching panel) | 4 | (Amazon) #8 x 3/4” Phillips Truss Head Screws |
| Alternator/Battery Master Switch | 1 | (Desktop Aviator) Dual rocker switch |
| Fuel Pump, Lights, Pitot Heat | 7 | (Desktop Aviator) SPDT Toggle Switch |
| Avionics Master Switch | 1 | (Desktop Aviator) On/Off Rocker Switch |
| Fuses | 1 | (Amazon) 6 Pin DPDT self-locking micro push button switches |
Note The Amazon and Ebay links above are affiliate links and help me pretend that my hobbies are self-sustaining.
Panel
The panel is laser cut from white acrylic, painted black, and then laser engraved.
Key Switch
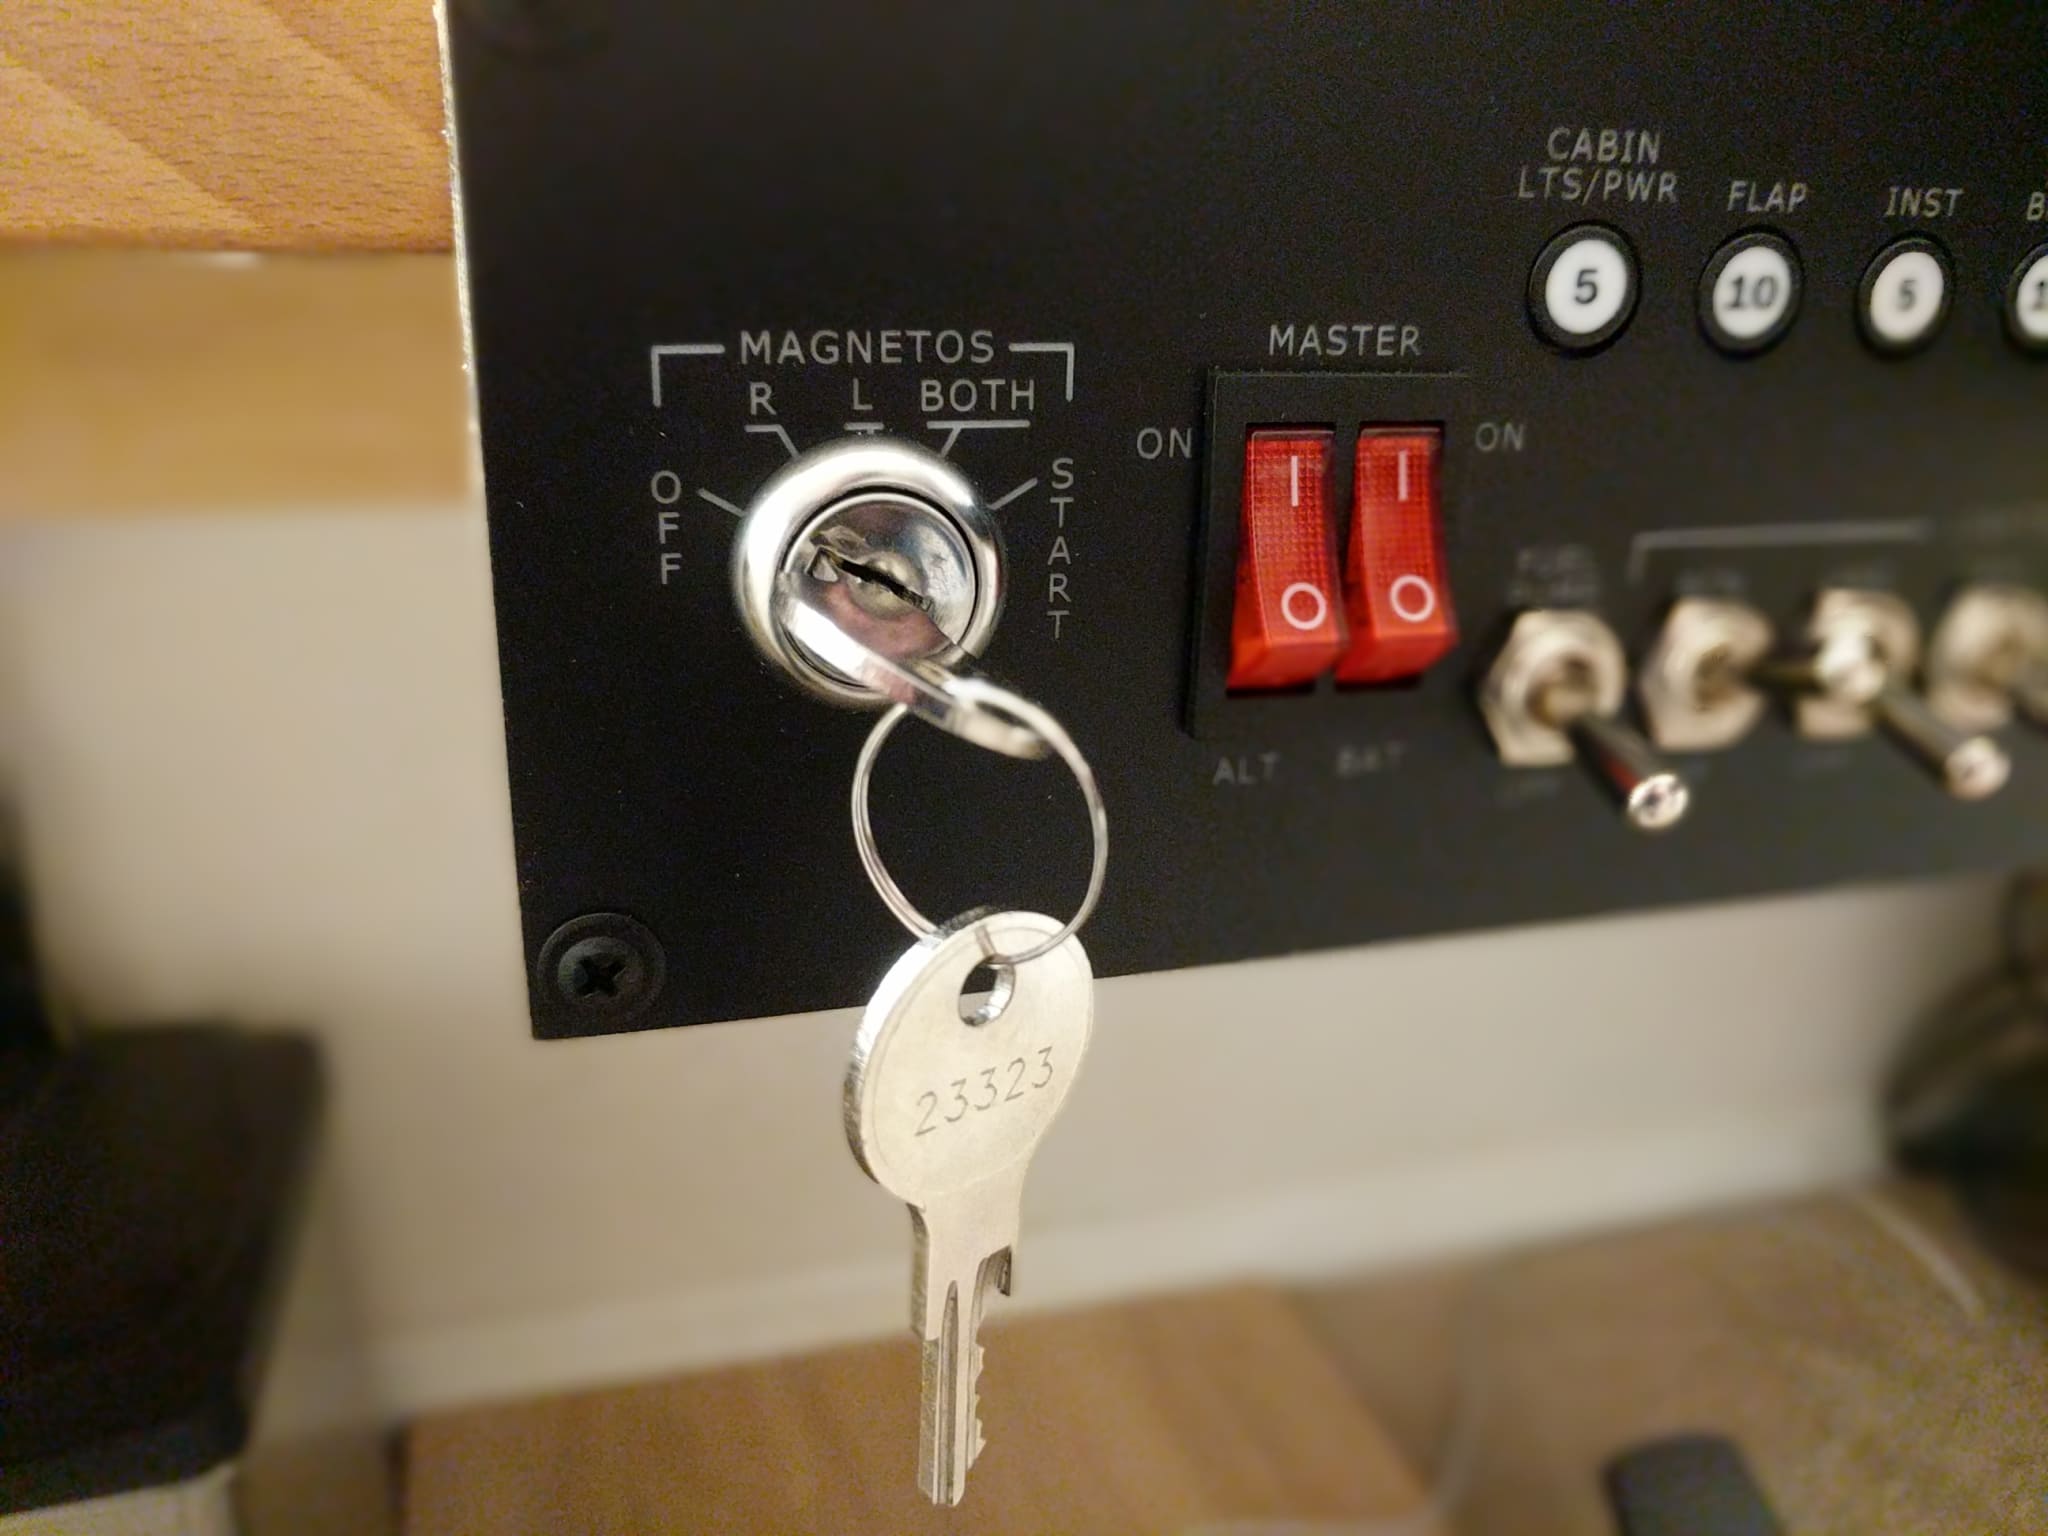
A 5-position, spring-action key switch is mounted into the panel. See key switch for build details.

Fuses
DPDT buttons with 3d-printed caps are mounted into the panel to simulate resettable fuses.
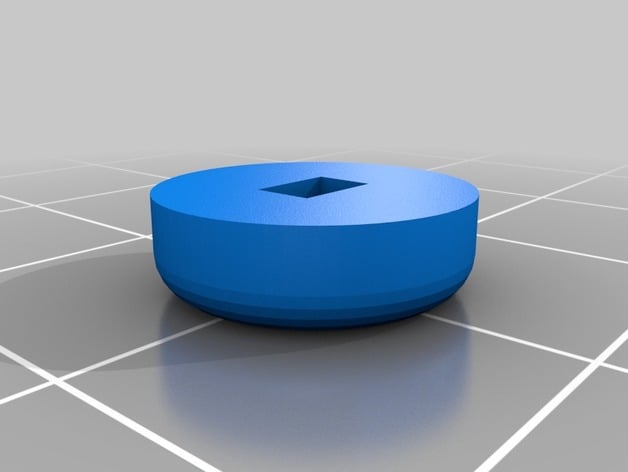
The 3d printed caps are printed in white PLA, painted black, and then laser engraved to indicate the amperage of the fuse.

Fuse Button Caps
The button caps are 3d printed from white PLA, painted black, and then laser engraved.

The fuse amperage is laser-engraved after painting the button cap. The SVG has layers that can be toggled for the various fuse values.
A guide was created for aligning the button cap in the laser cutter.

Fuse Button Mounts
The fuse switches are mounted to the back of the panel by gluing the switches into laser-cut acrylic strips.
