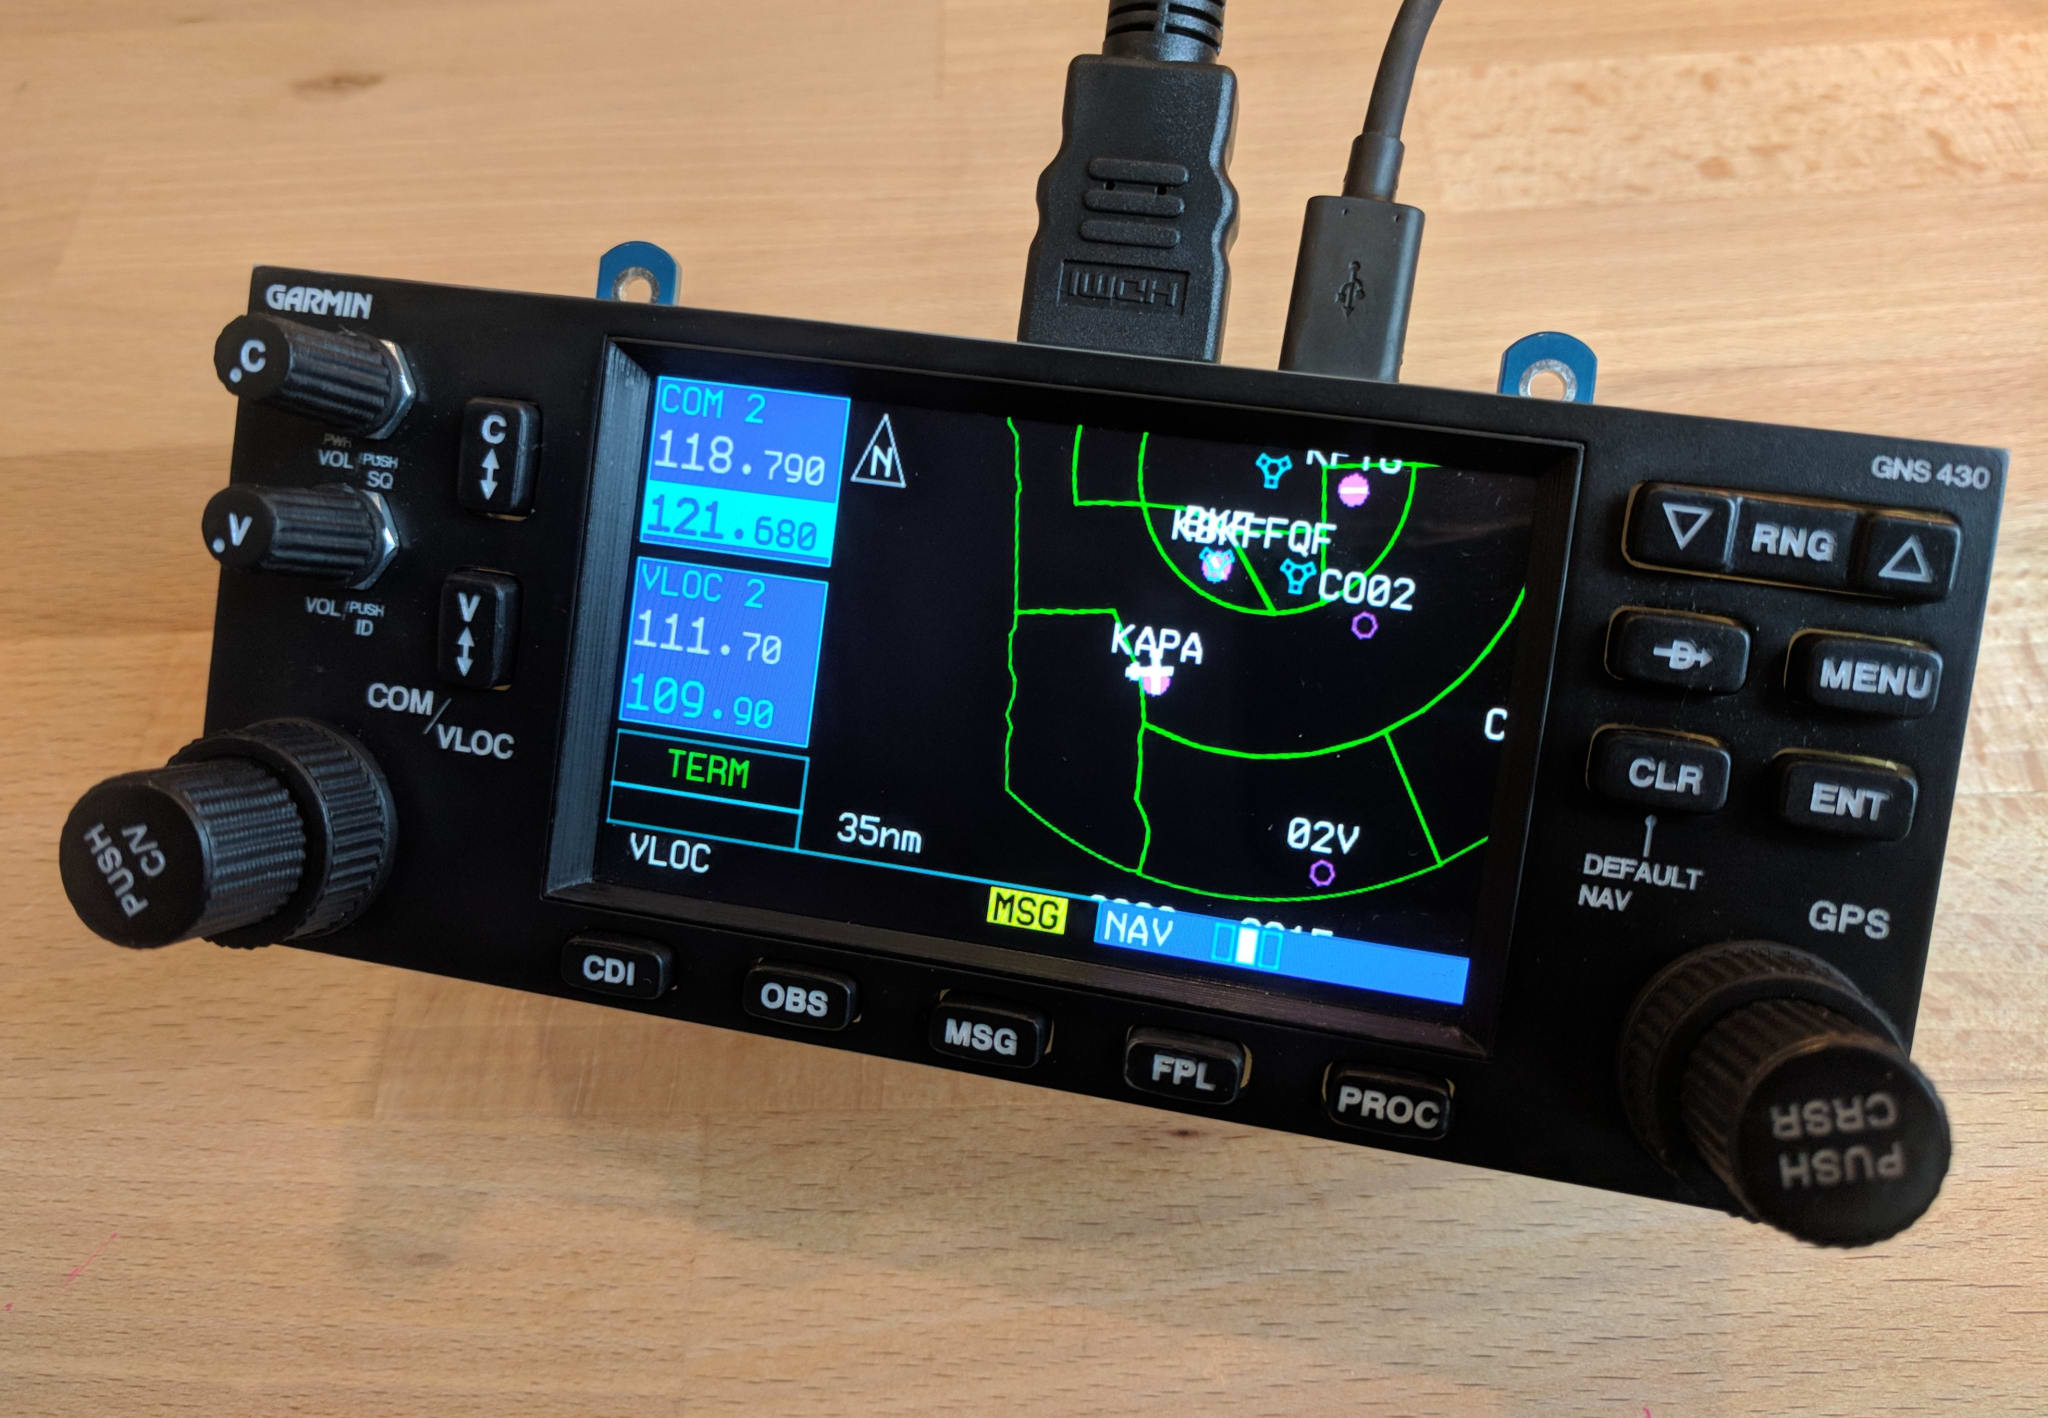
Garmin GNS 430
The Garmin GNS 430 is no longer in production but it continues to be ubiquitous in general aviation.
This GPS is specifically designed for use with X-Plane 11.10 (or greater) and uses the screen-only popup instrument window feature to render the GPS screen on an HDMI display that is integrated into the assembly.


Parts List
| Component | Quantity | Source |
|---|---|---|
| Faceplate, hardware mount, mounting brackets | 441x69 mm | (Ebay) 3/16” bright white cast acrylic |
| 4-inch Display This is a 16:10 (wide) aspect ratio display that is very close to the aspect ratio and size of the display in a genuine 430. The touch screen feature isn’t used. |
1 | (Amazon) Waveshare 4inch HDMI LCD Resistive Touch Screen 800x480 |
| Primary knobs Dual-rotary encoders are difficult to find. These work perfectly and have a solid feel. The 3d printed knobs below are designed for these encoders. |
2 | (Desktop Aviator) 8mm Dual Rotary Encoder Switch w/Knobs & Mounting PCB |
| Push buttons These are a soft-feel push button with about 2mm of travel. |
14 | (Amazon) 7mmx7mm Momentary DPDT Mini Push Button Switch |
| Power/volume potentiometers With on/off and volume control. The 3d printed volume knobs below are designed for these. |
2 | (Amazon) 20K Ohm Dual Linear Taper Potentiometer Switch |
| Pan head screws Used for attaching the hardware mount to the rear of the faceplate. |
4 | (Amazon) #6-32 x 1/2” Phillips Pan Head Screws |
| Flat head screws For assembling the acrylic parts (holes should be countersunk before assembly). |
12 | #4 x 1/2” Flat Head Wood Screws |
Note The Amazon and Ebay links above are affiliate links and help me pretend that my hobbies are self-sustaining.
Faceplate
The faceplate is laser cut from white acrylic, painted black, and then laser engraved.

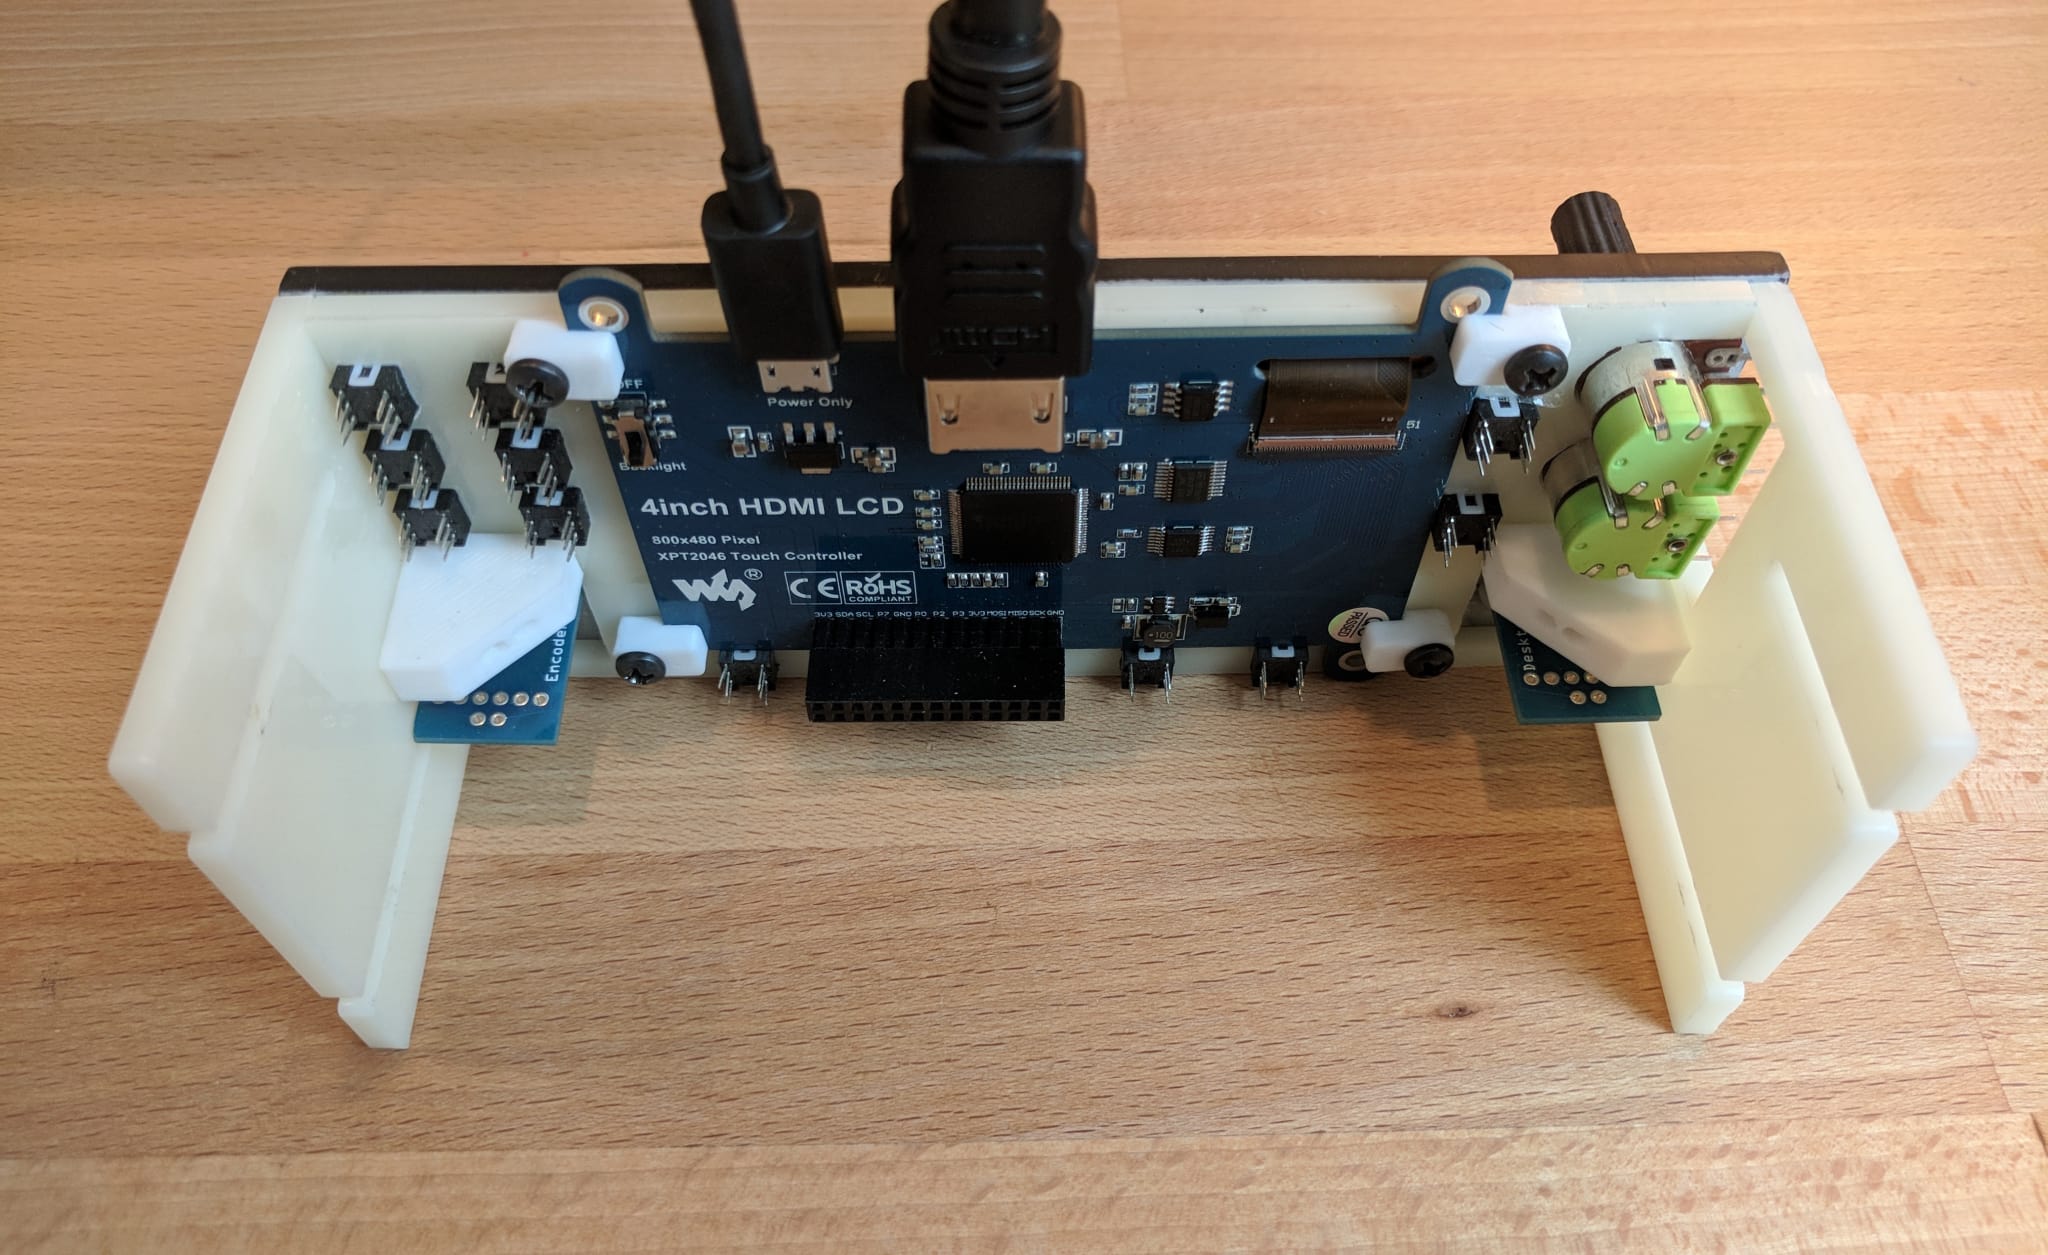
Hardware Mount
The hardware mount provides a layer for mounting the push-buttons and the display. I used acrylic for mounting the push buttons to simplify construction and to avoid having to create a circuit board. The push buttons are glued into the hardware mount.


Frame Mounts
The frame mounts are used to attach the assembly to the frame.


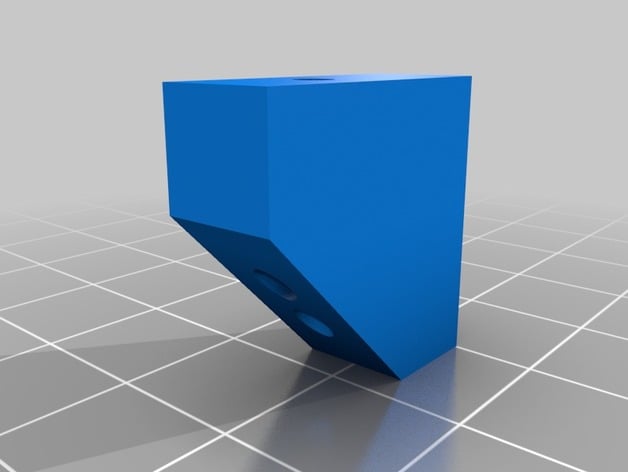
Frame Mount Brackets
The frame mounts are attached to the hardware mount with these brackets and #4 x 1/2” flat head screws.
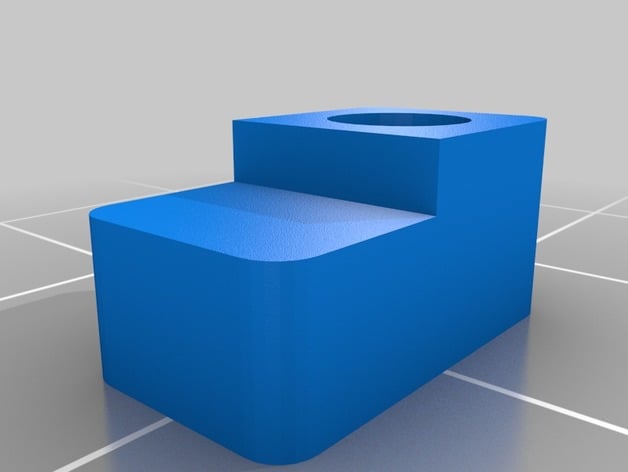
Display Mounting Clips
The display mounting clips secure the display to the hardware mount and to the faceplate. A shallow 1/8” hole is drilled into the rear of the faceplate. The clips are designed to work with #6-32 x 1/2 pan head screws.


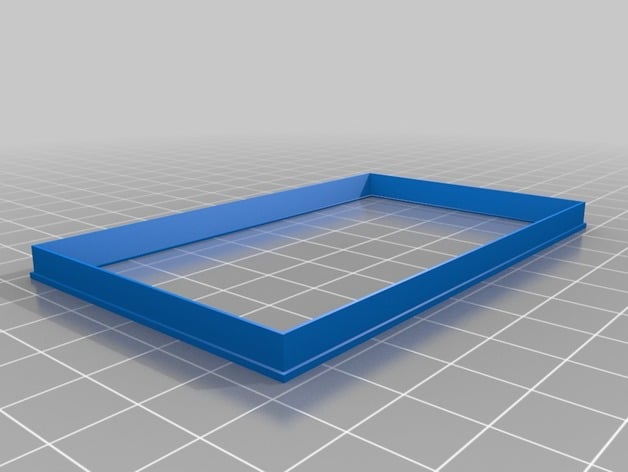
Display Bezel
A 3d printed display bezel is sandwiched between the layers to compensate for the difference in thickness between the display and the hardware mount panel. The bezel provides a clean finish and is similar to the bezel profile on a real GNS 430.
Buttons
The GPS buttons are 3d-printed from white PLA, painted, and laser-engraved.
Small Buttons

Medium Buttons

Zoom Button

Flip Flop Buttons

Knobs
Dual-Rotary Knobs
The knobs for the dual concentric rotary encoders are designed to match those found on a real GNS 430 and are 3d printed from white PLA, painted, and laser-engraved.


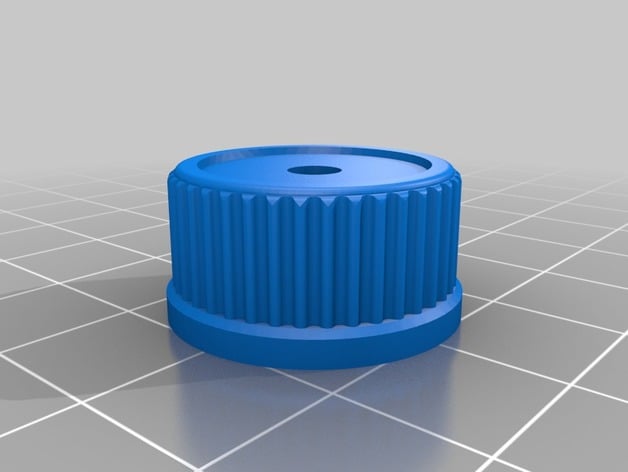

Volume Knobs
The knob is 3d printed from white PLA, painted, and laser-engraved.

